This is a simple guide for you to install WordPress on Rocky 8 using MariaDB.
After installing Rocky 8 on your server > update:
yum update -y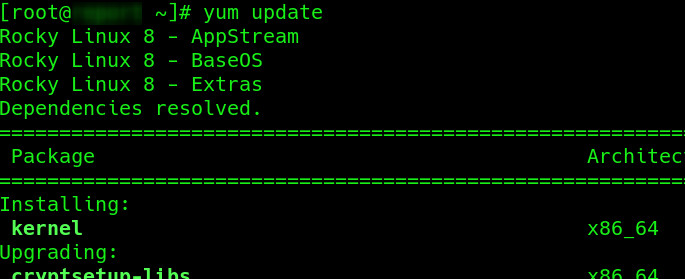
Reboot the server, then proceed to install the necessary requirement: PHP – MariaDB -JSON – tar – Apache with a single line:
rebootdnf install php-mysqlnd php-fpm mariadb-server httpd tar curl php-json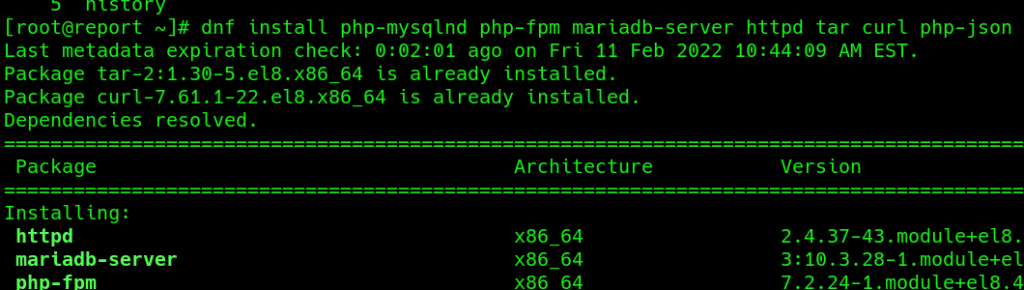
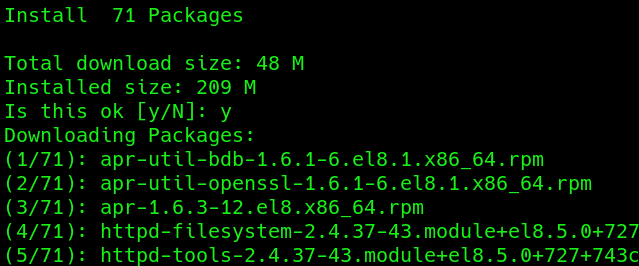
Press “y” when prompted:
Open ports 80 and 443 (You may want to close port 80 and get your SSL before publishing your web site):
firewall-cmd --permanent --zone=public --add-service=httpfirewall-cmd --permanent --zone=public --add-service=httpsRefresh your firewall configuration:
firewall-cmd --reloadProceed to start the database and web services:
systemctl start mariadb
systemctl start httpd
systemctl enable mariadb
systemctl enable httpd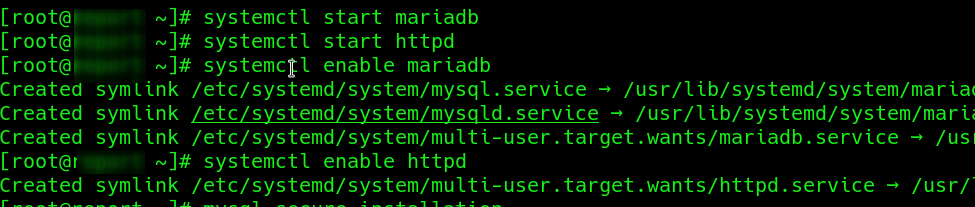
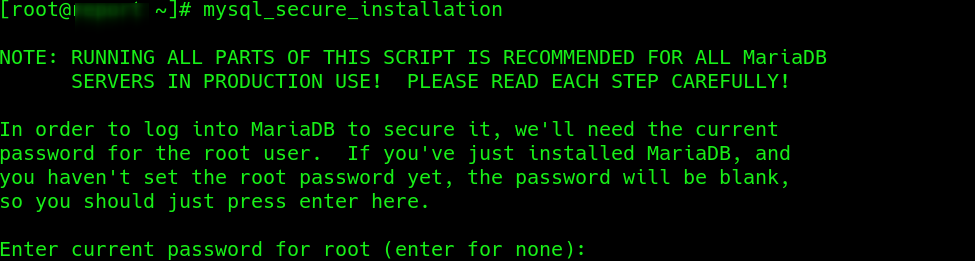
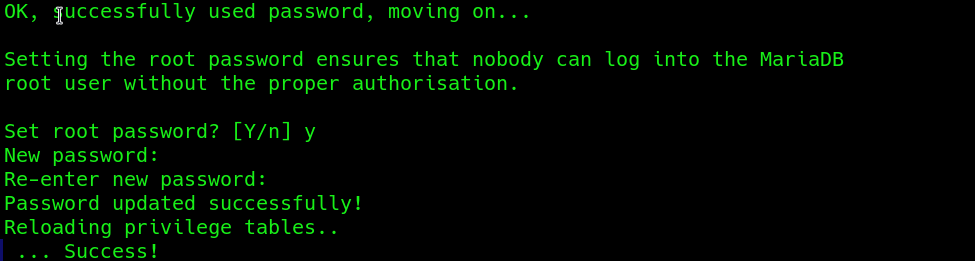
Some people make it optional to secure your database with a password. I suggest you do it, more secure is always better; saving time in the configuration process by neglecting security is not acceptable.
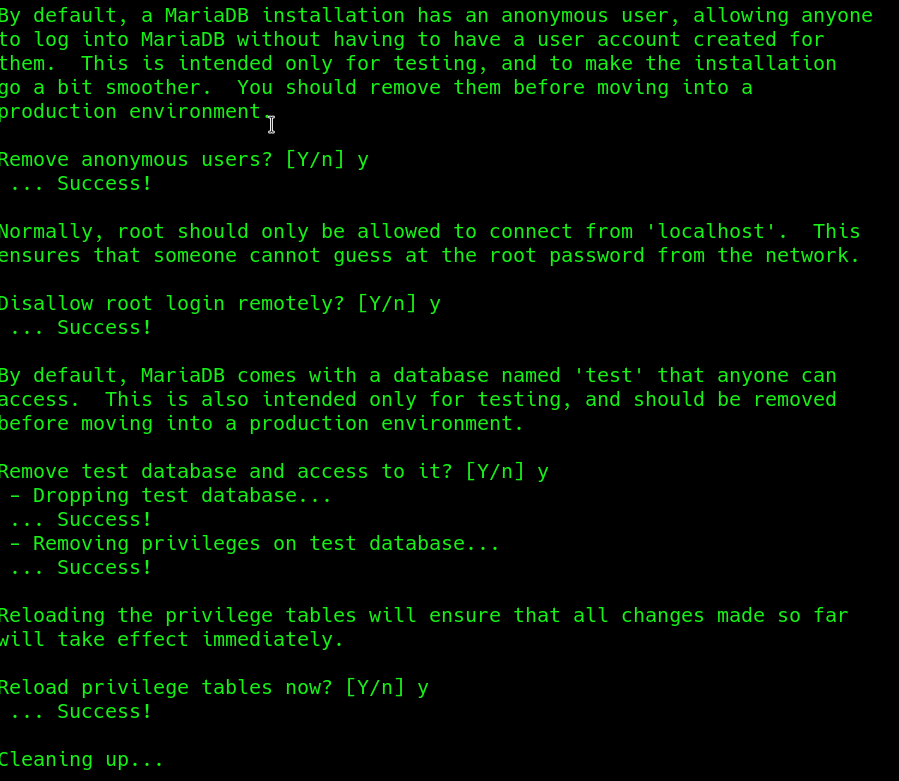
mysql_secure_installationCreate a new root password for the database, remove anonymous users, disallow login remotely, remove the test database and access to it, then reload privilege tables:
Now is the time to configure the database for our WordPress site:
Login into MariaDB (using the root password created before), create the database, create user, grant permission to that user:
mysql -u root -p(make sure that you are replacing the database name, user name, user password with your own configuration!)
CREATE DATABASE database_name;CREATE USER 'user_name'@'localhost' IDENTIFIED BY 'password';GRANT ALL ON database_name* TO 'user_name'@'localhost';FLUSH PRIVILEGES;
exit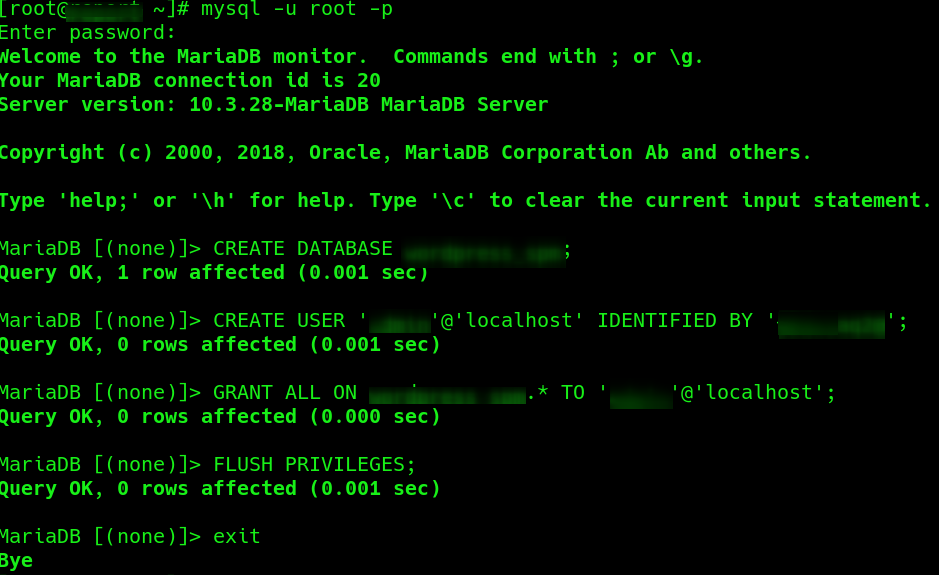
Packages installed, firewall configured, database ‘secured’, database configured. The next step is to download and install WordPress (curl):
curl https://wordpress.org/latest.tar.gz --output wordpress.tar.gzDecompress (tar) and copy file in /var/www/html
tar xf wordpress.tar.gz
cp -r wordpress /var/www/html
Fix permissions
chown -R apache:apache /var/www/html/wordpress
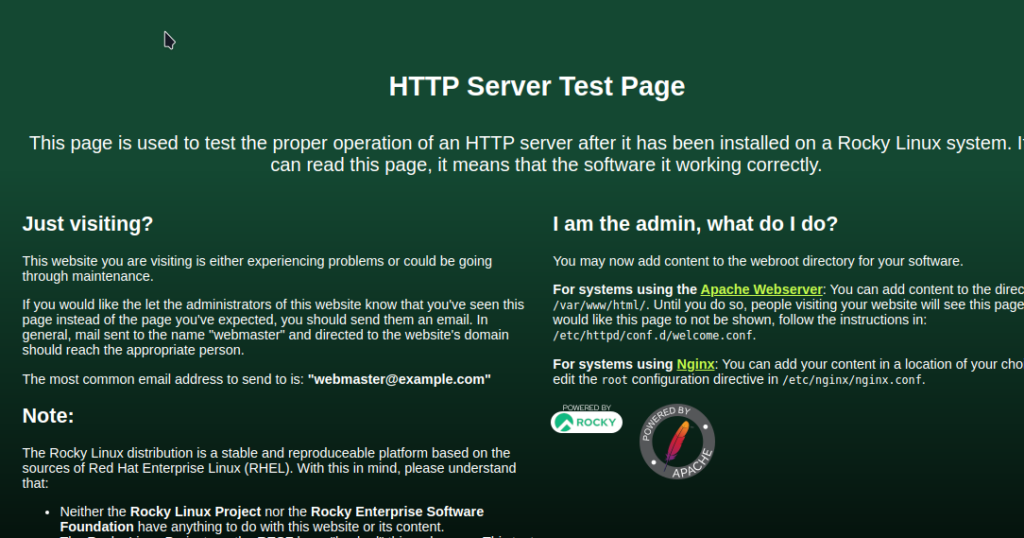
chcon -t httpd_sys_rw_content_t /var/www/html/wordpress -RUse a web browser to access this server using its IP address, you will see Apache test page
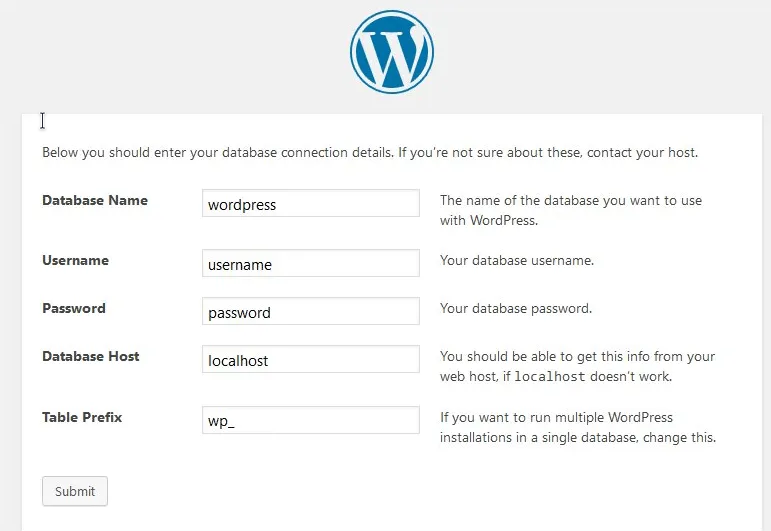
to configure WordPress, use your web browser and go to “server_ip_address/wordpress”
Fill the form with the user name, password, and database name you used before
Follow WordPress stets, creating a username and password. (Yes a lot of user names and passwords, please don’t use the same for all).
Then you can log in to your site and start configuring themes, plugins, etc.
If you have a problem adding new themes (“an unexpected error occurred” message), follow the next steps:
yum install policycoreutils-python-utils -y
grep php-fpm /var/log/audit/audit.log | audit2allow -a -M apache_php_fpm
semodule -i apache_php_fpm.pp
systemctl restart httpd
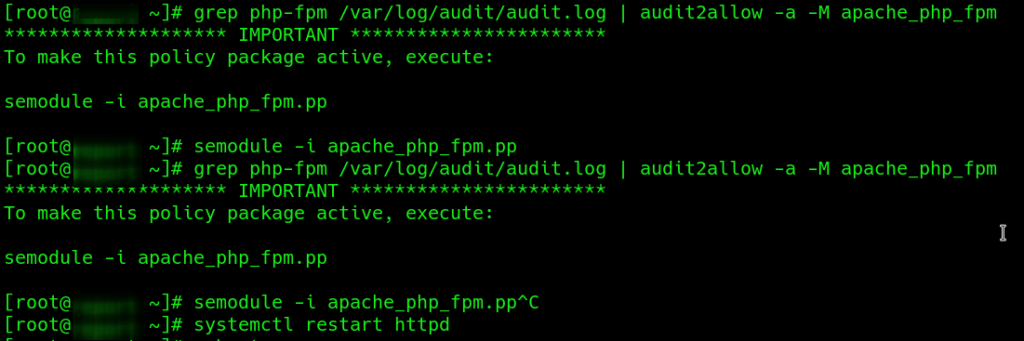
This will fix it, and now you are able to get new themes within your WordPress site.
You can find more details about this error by accessing the source that I used as a certified “Proven Tutorial“: https://wesley.sh/solved-wordpress-an-unexpected-error-occurred/
Don’t hesitate to ask questions!
Again, I hope that you find this information useful!
Thanks for visiting ProvenTutorials.org